You don’t need to be a concreter to achieve the micro cement look. Elevate your living space into a cozy and inviting haven with Dulux Light Texture. This DIY friendly paint has a fine-grained finish and the soft variation in colour delivers a modern aesthetic that exudes depth and style.
Follow these 3 simple steps to achieve the micro cement look with Dulux Light Texture.
Choose your colour
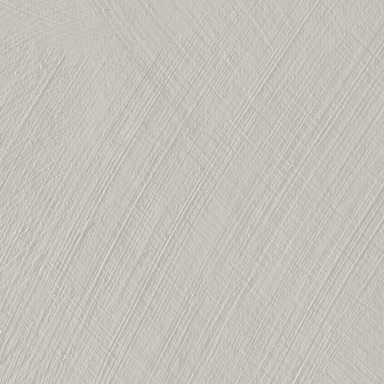
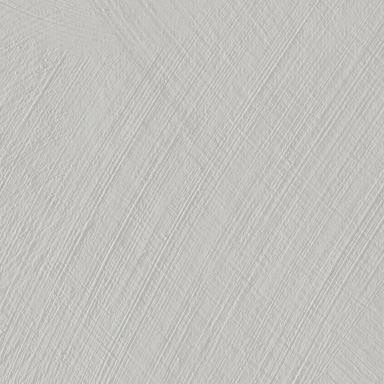
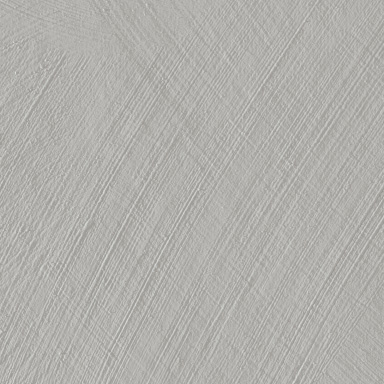
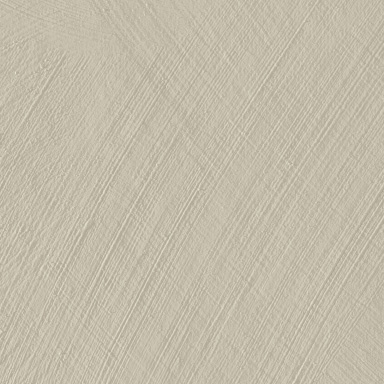
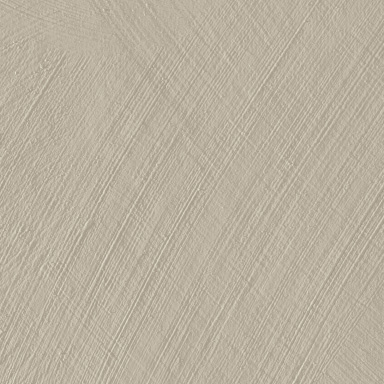
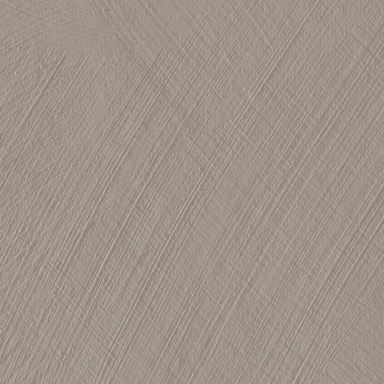
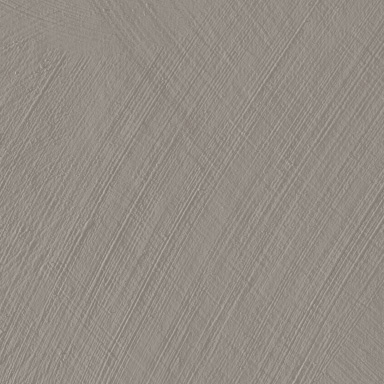
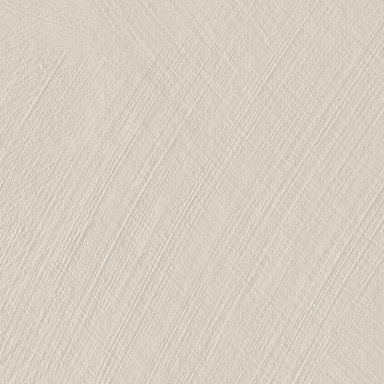
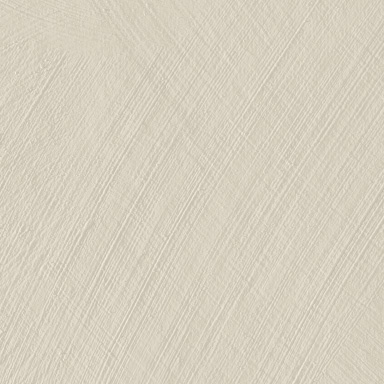
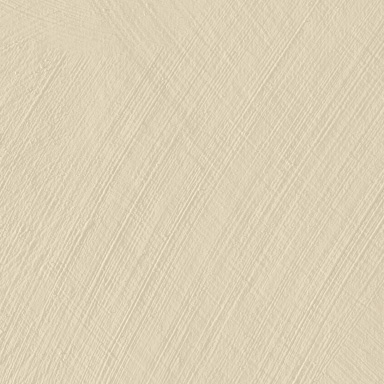
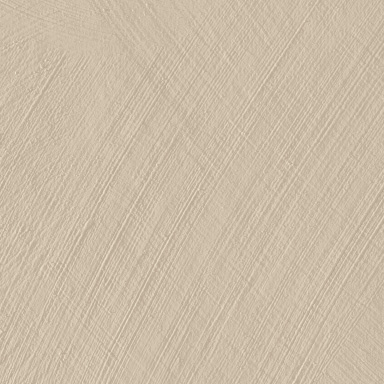
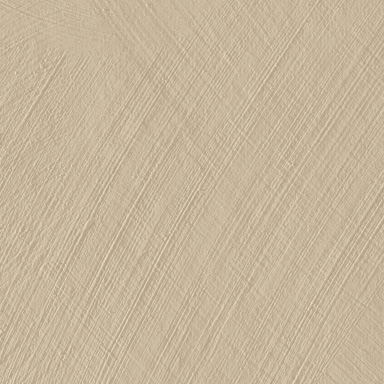
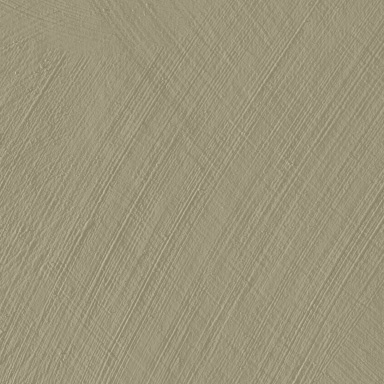
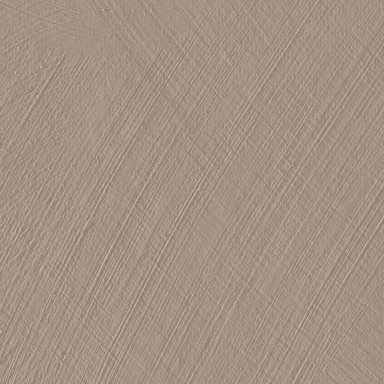
Dulux have curated a range of 16 neutral colours specially selected to complement the fine-grain texture.
 |
 |
 |
 |
| Snow Vista |
Discrete Grey |
Grey Impulse |
Grey Fort |
 |
 |
 |
 |
| Misty View |
Urban Trail |
Mountain Stone |
Rugged Outlook |
 |
 |
 |
 |
| Close Encounter |
Pristine Statue |
Summer Sand |
Scandi Timber |
 |
 |
 |
 |
| Paved Track |
Tawny Plume |
Herb Twist |
Fallen Bark |
Preparation
As with any painting job, preparation is key to achieving the best finish for your room. Here is what you need to do:
- Clean your surface with Selleys Sugar Soap .
- Fill in any cracks, then sand back, wipe down and spot prime with Dulux 1StepPrep, if required.
- Mask off the ceiling, trim and walls you don't want painted.
- And now, you're ready to paint.
Paint
Thoroughly stir the paint with a scooping motion, both up and down. This guarantees an even distribution of texture and colour.
There are two techniques you can use when applying Dulux Light Texture paint that will give you two different looks; rolling, which gives you a smoother, more subtle texture finish or cross-hatching, which greater emphasises the textured finish. Here’s how you can master these techniques:
1. Rolling
For a subtly textured finish, you’ll need to apply two even coats with a roller. Begin painting by cutting in around the edges of the wall with an oval or sash cutter brush. Evenly load your roller with paint. Then, starting from the top left corner, roll across the wall in a W shape, working in 1 metre by 1 metre sections. Make sure you roll over the cut-in edge while it’s still wet to avoid a picture framing look around the wall’s edge. This method guarantees even coverage.
Allow 2 hours drying time for the first coat before starting the second. Once dry, cut in around the edges as you did during the first coat and roll the wall in a W shape again. Fill in smaller gaps once you’re finished rolling.
TIP - For a more uniform appearance, roll on and lay off simultaneously as you progress. To lay off, roll parallel strokes with an unloaded roller over the freshly painted area.
2. Cross hatching
To emphasise the textured finish of Dulux Light Texture, roll the first coat and then use a crosshatch technique for the second. Again, begin painting by cutting in around the edges of the wall with an oval or sash cutter brush. Evenly load your roller with paint. Then, starting from the top left corner, roll across the wall in a W shape, working in 1 metre by 1 metre sections. Make sure you roll over the cut-in edge while it’s still wet to avoid a picture framing look around the wall’s edge.
For the second cross hatch coat, use a wide brush to apply paint in random criss-cross motions. Work your way across the wall, ensuring you maintain a continuous 'wet edge' by picking up where you left off each time you reload your brush. Start from the top left corner and finish in the bottom right corner, keeping the strokes random to prevent any noticeable patterns adding to the natural look and feel of the Dulux Light Texture.
TIP - For consistency, it is ideal for one person to complete the entire wall when employing the criss-cross technique.
Once the entire wall is painted, allow the paint to dry for 2 hours before removing the masking tape. Then finally, step back and admire your Dulux Light Texture micro cement wall. Be aware that different lighting conditions may enhance the variations in the finish.
For more expert painting advice, head to your local Inspirations Paint store.